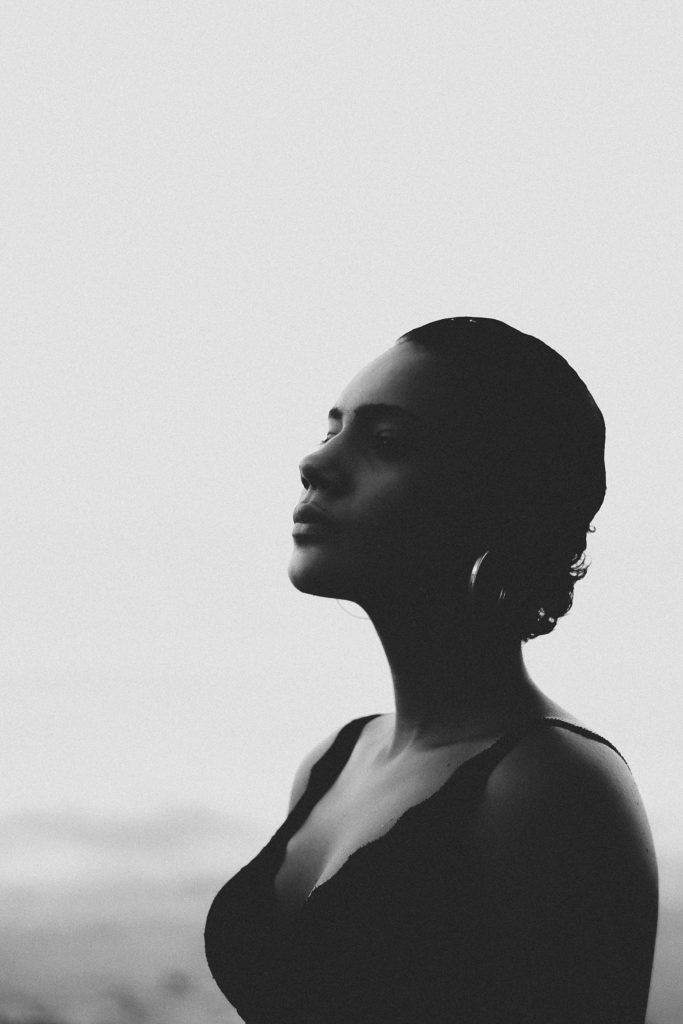
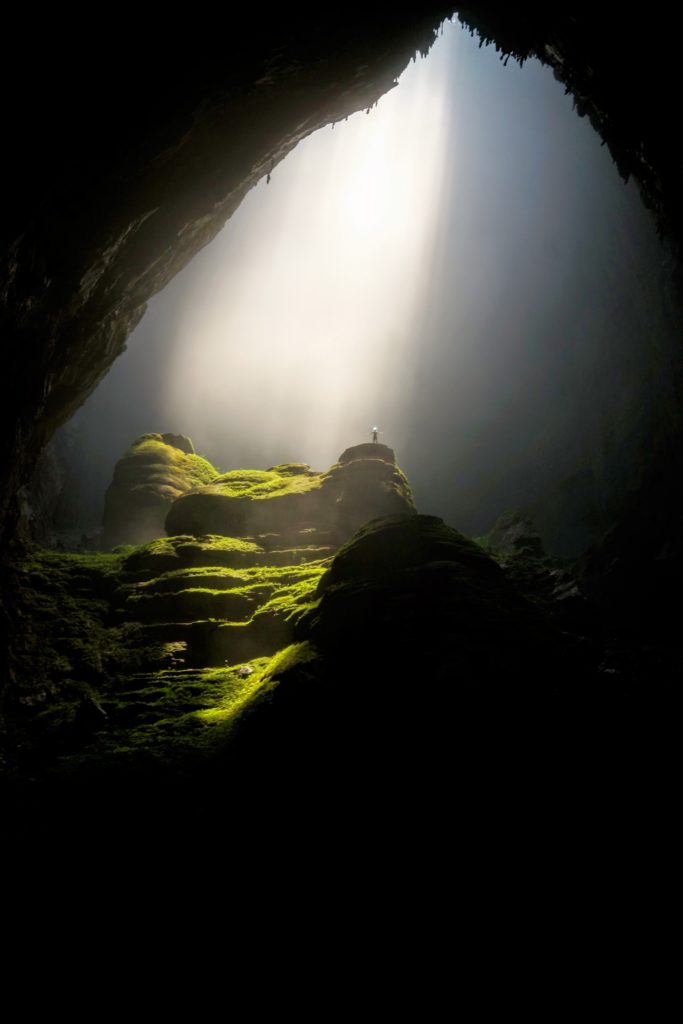
When choosing an image, it is important that your model is relatively dark and stands out against the light background. For the second picture you should choose a great landscape. But you can also experiment and use a flower image or cloud image.
Step 2 - The Editing
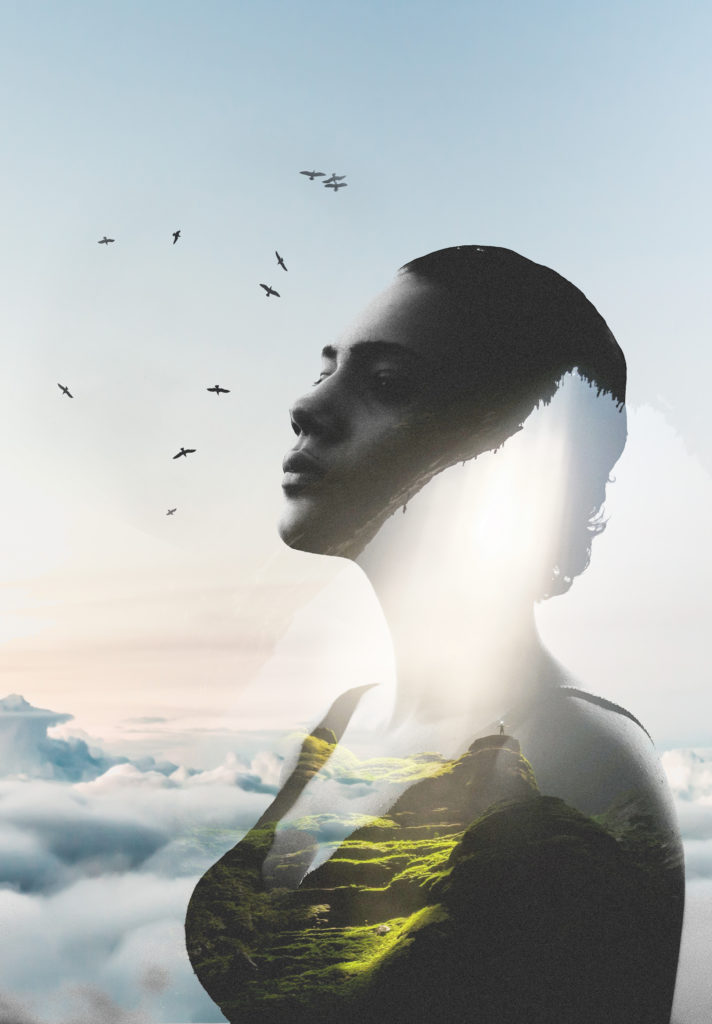
After opening the first image with the lady in Photoshop, place the second image. Now comes the most important step and you set the second image to negative multiply or brighten. And you get the typical double exposure effect.
Step 3 - The finishing touches
Now that the Double Exposure effect is done, I add clouds to the bottom part of the image. The little birds are also mandatory, as they give the picture a little more drama. And Tadaaaaa the picture is ready!
")